How to Make Educational Videos: Step-by-Step Guide (2026)
Educational videos used to require a camera, a ring light, editing software, and several hours you probably didn’t have. Or a production budget most teachers and creators simply can’t justify.
That gap has closed.
In 2026, anyone can produce professional-quality educational videos — from a script to a finished video — without recording equipment, without showing their face, and without prior video production experience. Teachers are building lesson libraries. YouTubers are growing faceless channels. Course creators are shipping content in hours instead of weeks.
This guide covers what makes educational videos work, the different types and when to use each, a step-by-step production process, and how AI tools — in particular Anijam — have changed what’s possible for solo creators and educators.
What Makes a Good Educational Video
Before format and tools, it’s worth being clear on what actually works in educational video — because most guides skip this.
One idea per video. The most common mistake is trying to cover too much. A video that teaches one concept clearly outperforms a video that covers five concepts superficially. Narrow the scope before you write a single line.
Clear audio over perfect visuals. Study after study confirms this: viewers tolerate poor video quality, but they abandon videos with bad audio immediately. If you’re recording your own voice, invest in a decent microphone before anything else.
Structure the learner can follow. The format that works across ages and subjects: hook → concept → example → summary. It matches how the brain processes new information. Don’t invent a new structure — use the one that works.
Pacing that respects the learner’s time. Too slow and attention drifts. Too fast and comprehension drops. For most educational content, aim for 120–150 words per minute in narration, and change the visual roughly every 6–10 seconds.
A consistent visual identity. For a series — a YouTube channel, a multi-part course, a lesson library — consistency builds trust. Viewers who recognize your style, character, or format return. This is where most first-time creators underinvest.
Types of Educational Videos
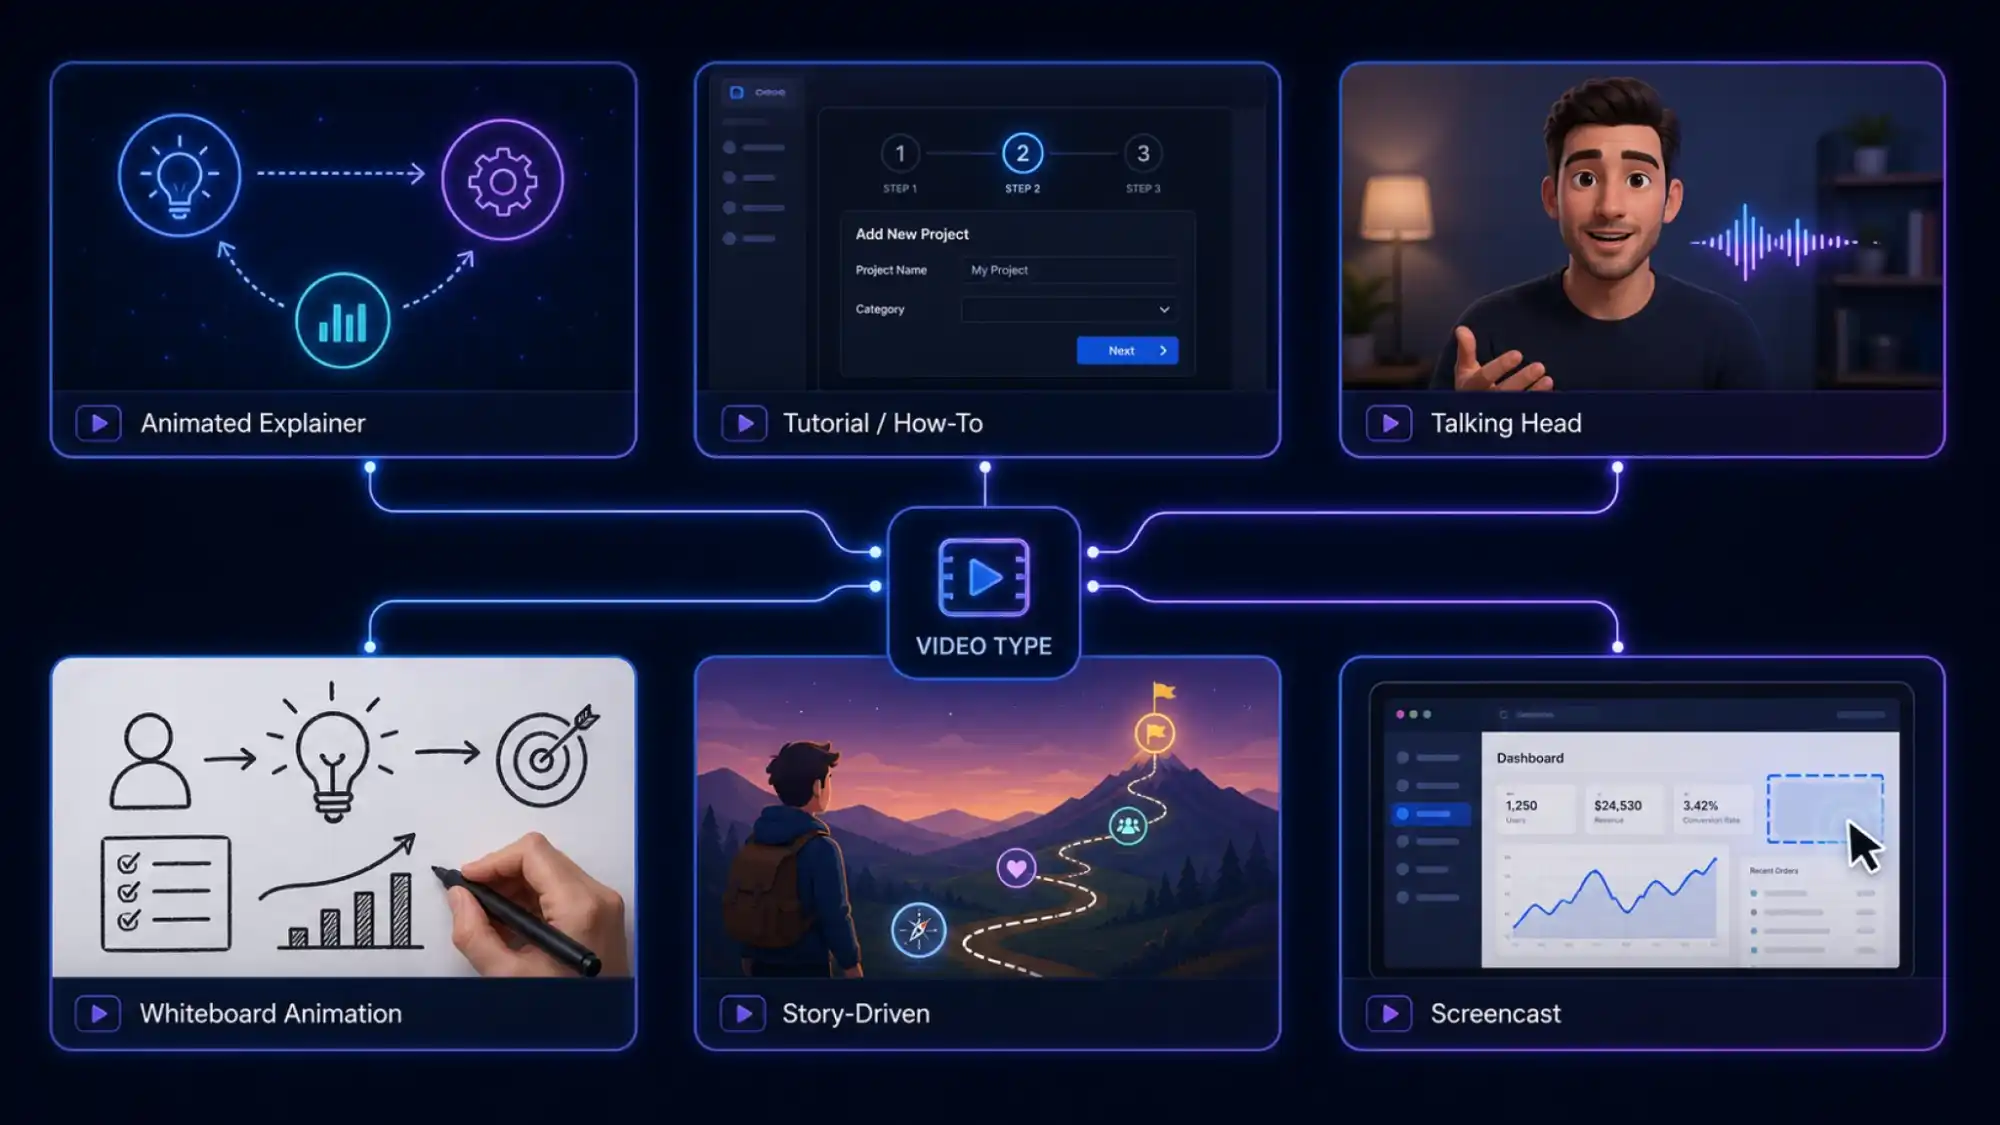
Different educational goals call for different formats. These are the main types, and when each works best:
Animated Explainer Videos
The most versatile format. Animation can visualize anything — cellular biology, historical events, abstract mathematics, workflow processes — that’s impossible or expensive to film. Animated explainers dominate educational YouTube for exactly this reason: the medium can go anywhere the concept goes.
Best for: science, history, math, concepts that are hard to visualize, any topic where real footage is unavailable or impractical.
Tutorial / How-To Videos
Step-by-step walkthroughs of a specific task or skill. Practical, focused, high intent from the viewer. Works across both screen recordings (for software) and animated formats (for processes, procedures, and conceptual how-tos).
Best for: software tutorials, skill-based instruction, procedural content, onboarding.
Lecture-Style / Talking Head Videos
An instructor on camera explaining a concept directly. The most familiar format from traditional education. Effective when the instructor has strong presence and the content is conversation-heavy. Requires recording equipment and on-camera comfort.
Best for: professors and teachers comfortable on camera, high-trust personal instruction, content where personality is part of the product.
Whiteboard / Doodle Animation
Ideas drawn in real time as the narration develops. Creates a sense of discovery and explanation-in-progress that’s engaging for complex topics. Effective for business, strategy, and social concepts.
Best for: business training, concept explanation, content targeting adult learners.
Documentary / Story-Driven Educational
Learning embedded in narrative. A character, a journey, a problem to solve. The most engaging format when done well — viewers learn because they’re invested in what happens next. Particularly effective for history, social-emotional learning, and any content targeting younger audiences.
Best for: history, storytelling-based learning, kids’ educational content, any concept that benefits from emotional investment.
Screencast
Screen recording with voiceover narration. The fastest format to produce. No visuals to design, no animation to generate — just record the screen and explain what you’re doing.
Best for: software tutorials, technical walkthroughs, product demos, anything where the screen IS the content.
How to Make Educational Videos Using AI: Anijam
This is where the workflow has fundamentally changed for independent creators and educators.
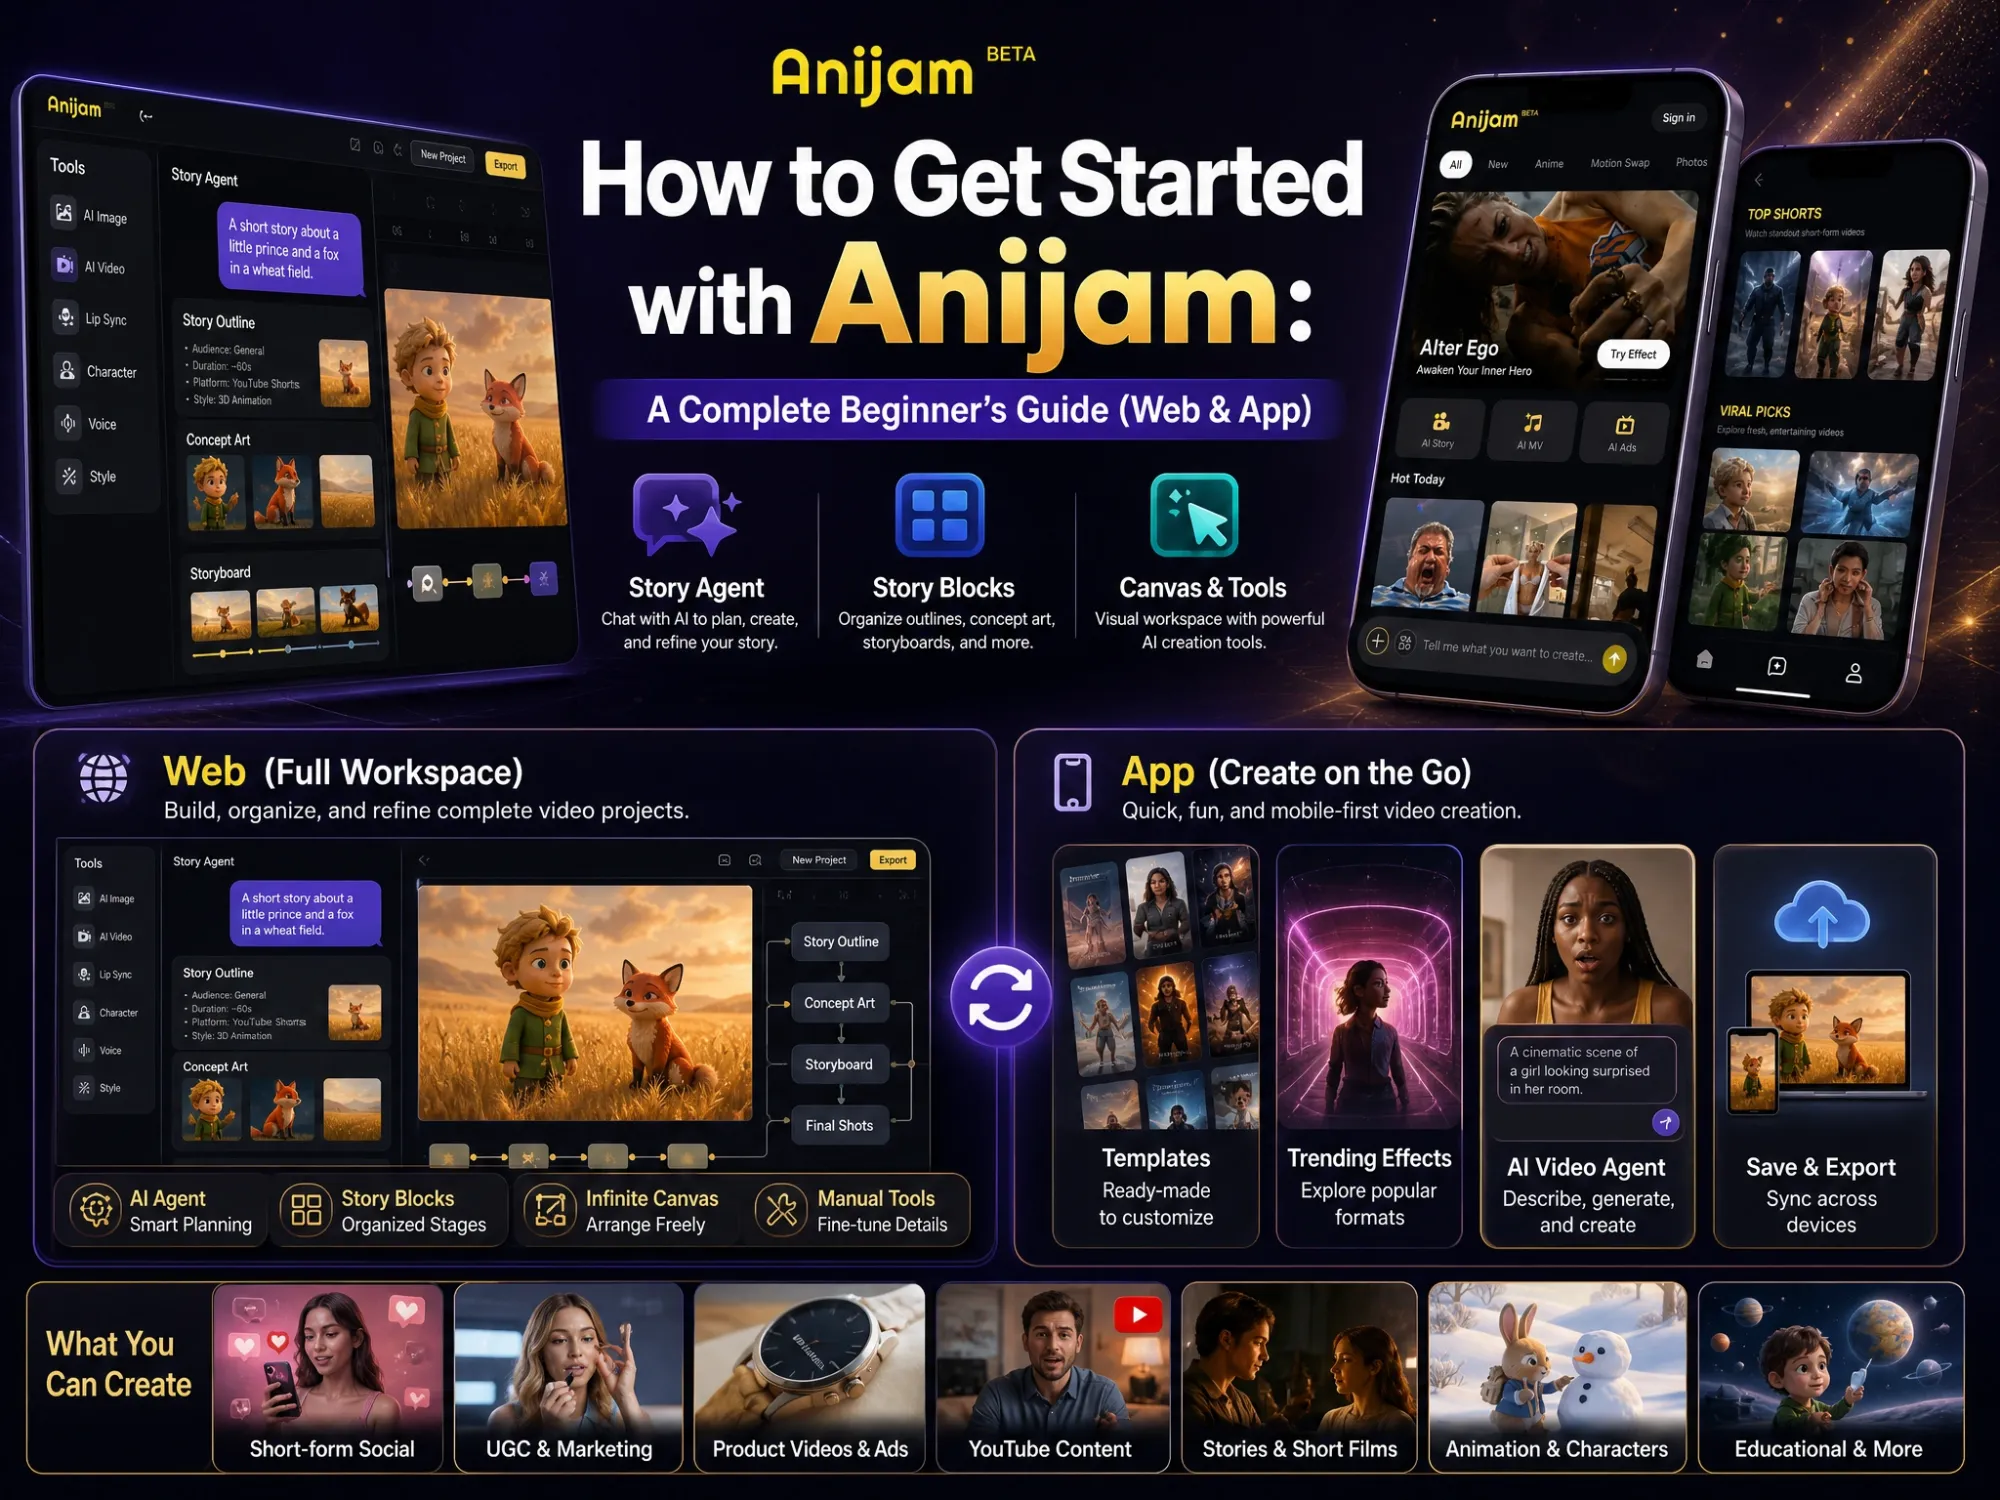
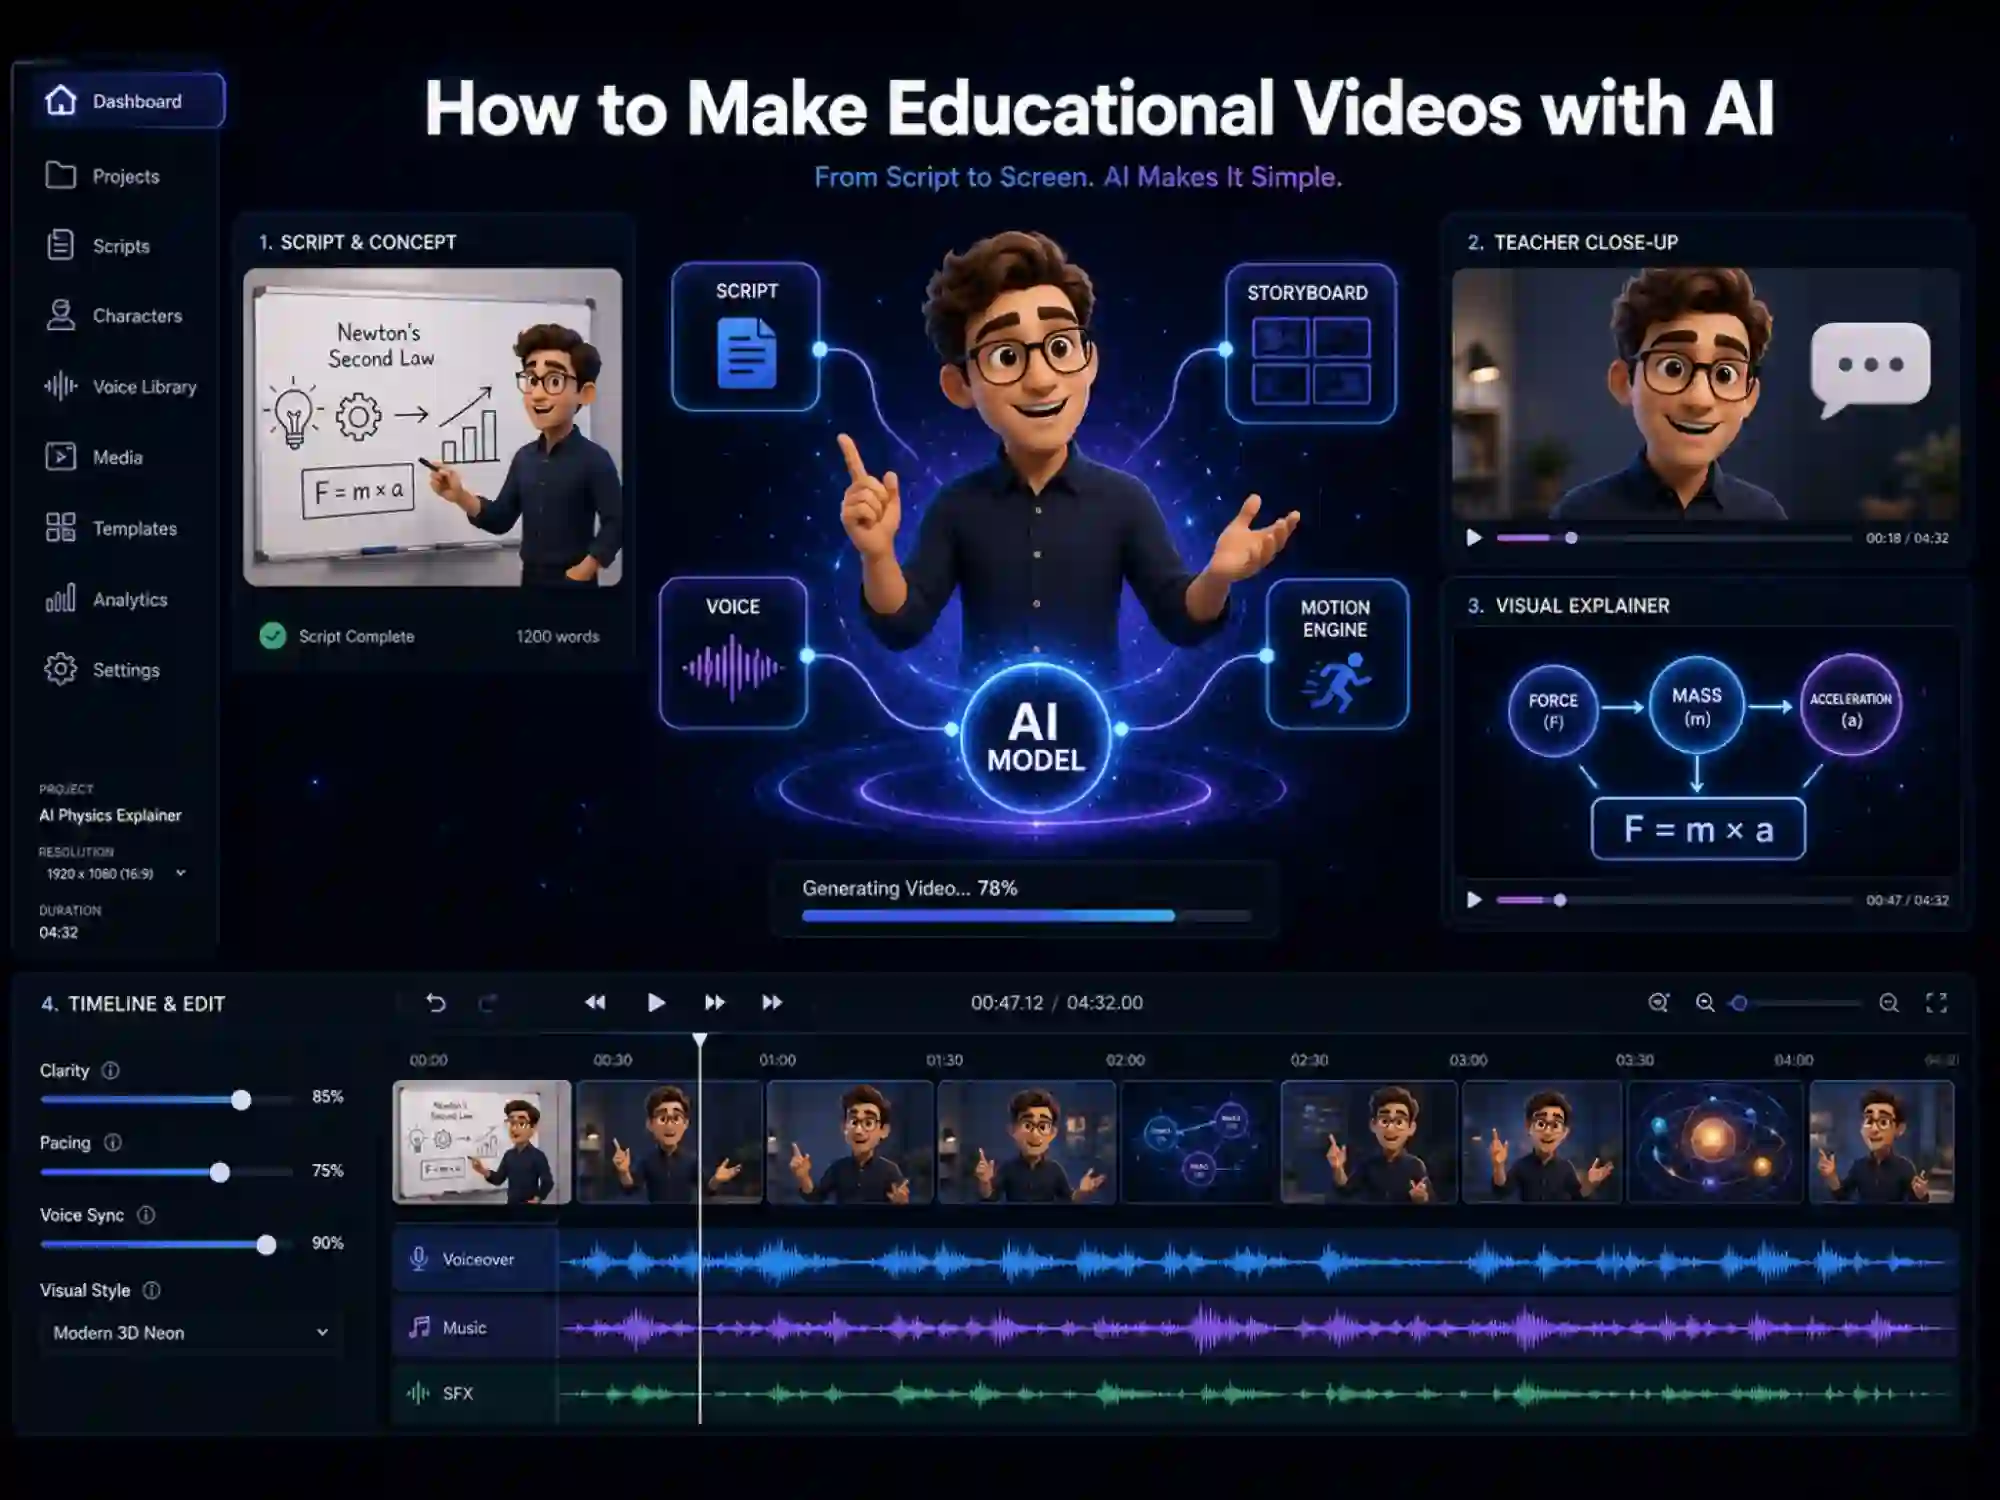
Anijam is an AI video agent that handles the full educational video production pipeline — script input, scene generation, character consistency, voiceover, lip sync, and timeline editing — from a single platform. It’s purpose-built for video, which makes it particularly strong for educational content that needs a consistent visual identity across a series.
Educational Templates
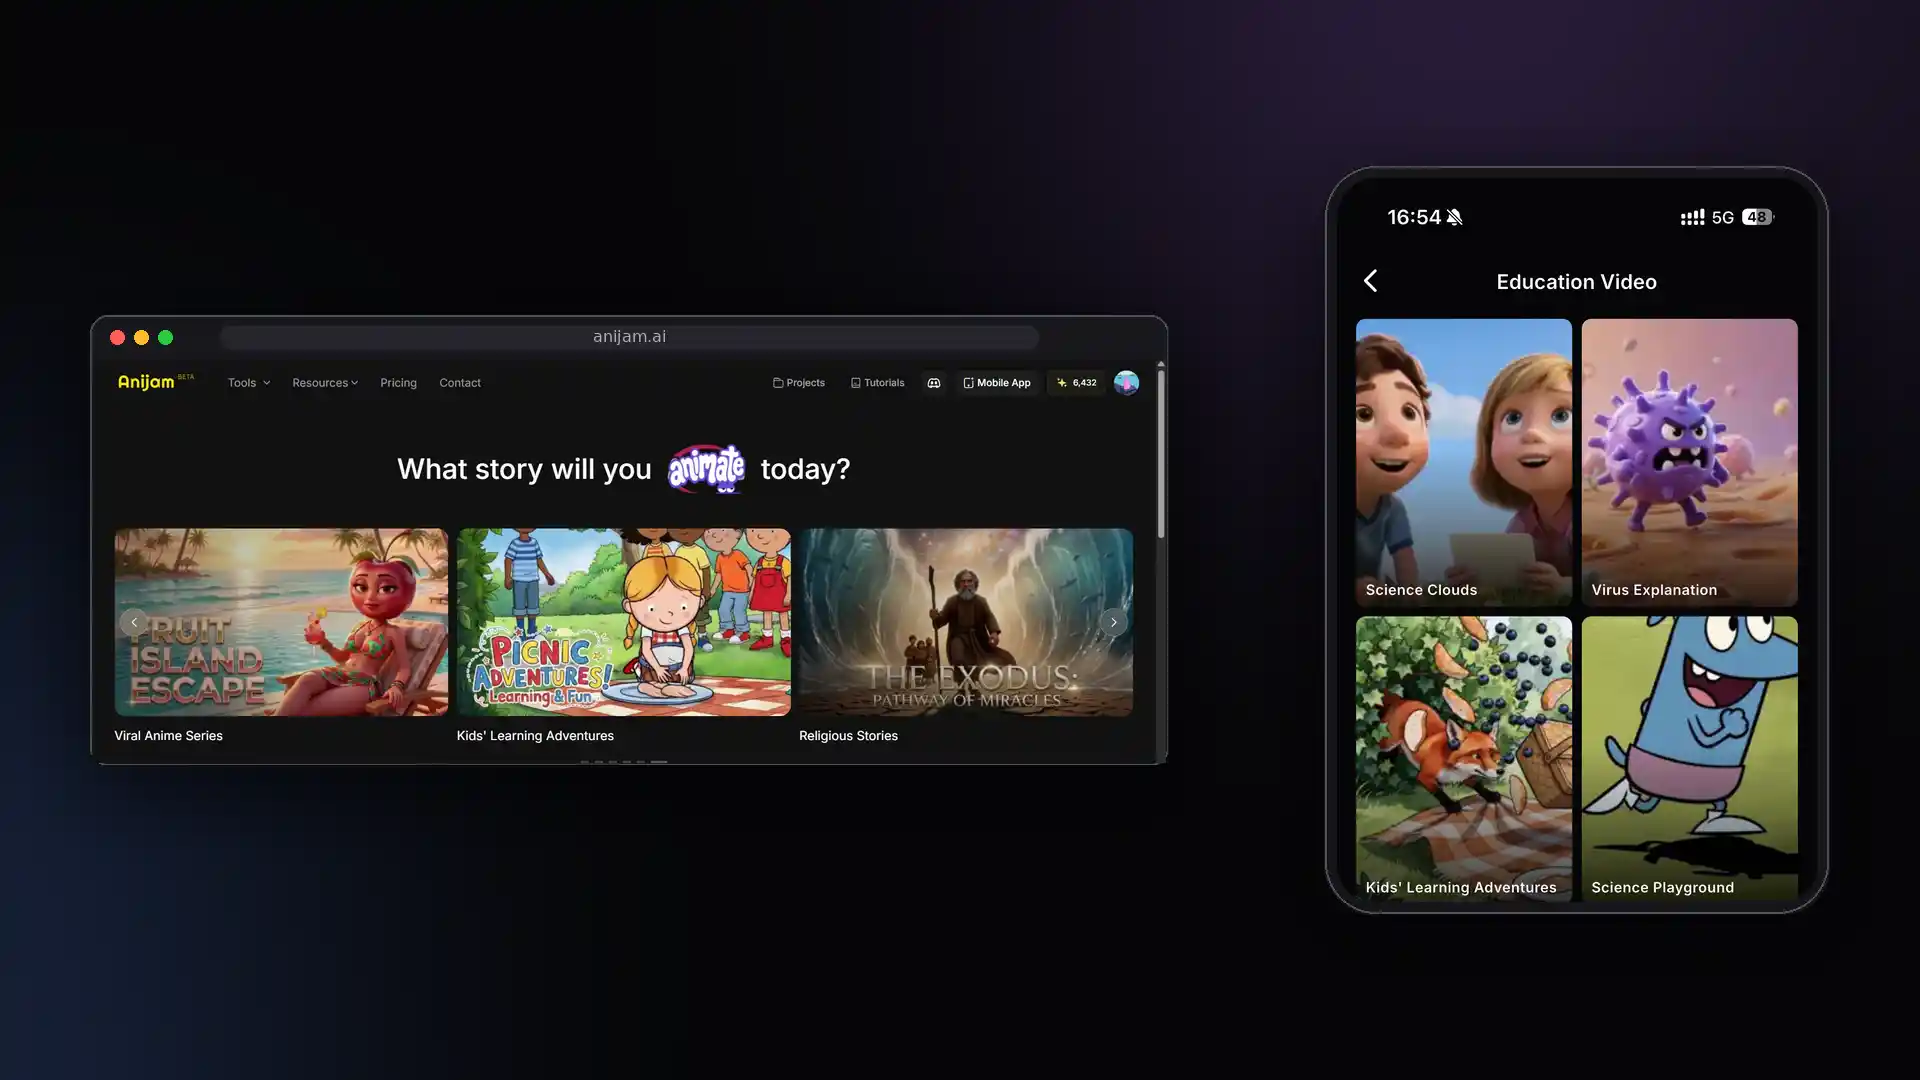
Anijam’s inspiration gallery includes ready-made educational video templates covering a range of formats and subjects: concept explainers, kids’ lesson videos, science visualizations, language learning, history storytelling, and YouTube educational formats. These templates aren’t decoration — they’re structured production starting points with pacing, scene layout, and visual style already calibrated for educational content.
Browse the gallery, select a template that fits your subject and audience, replace the content with your material, and generate. For creators making their first educational video, this is the fastest path to a finished result.
The AI Agent Workflow
For more control over the output, Anijam’s AI agent workflow covers each stage of educational video production:
Script to Animation: Paste your lesson script directly into Anijam. The AI agent breaks it into a structured scene-by-scene plan — each concept maps to a visual scene, with suggested pacing and transitions. For teachers who already have lesson plans or written material, this is the most efficient entry point.
Character design and consistency: Define your educational character once — a friendly animal teacher, a curious student guide, a classroom narrator. Anijam’s character consistency engine locks that design and maintains it across every scene in every video you generate. Your character in episode 50 looks identical to episode 1. This is the feature that makes building an educational series with AI actually viable.
Scene generation: Describe each educational scene in plain language. Anijam generates the animated output. If a scene isn’t right, adjust the description and regenerate just that scene — you don’t have to redo the entire video.
Voice generator (30+ languages): Generate voiceover directly in the platform. Select voice tone, pace, and language. For multilingual educational content — the same lesson delivered in English, Spanish, French, and Mandarin — generate the animation once and apply different language voiceovers without rebuilding the visuals.
AI lip sync: The character’s mouth syncs automatically to the voiceover audio in any language. No manual frame-by-frame work required.
Timeline editor: All generated scenes drop into a built-in timeline. Adjust scene duration, trim weak openings, reorder sequences, and set pacing optimized for your learner’s attention span.
Animation Styles for Educational Content
| Style | Best Educational Use |
|---|---|
| Cartoon / Classic 2D | Kids’ content, concept explainers, beginner-friendly topics |
| 3D Cinematic | Science, engineering, history, topics needing dimensional space |
| Ghibli / Hand-painted | Narrative-based learning, literature, history, emotional storytelling |
| Chibi | Early childhood education, language learning, social-emotional topics |
| Minecraft / Block 3D | Geography, content targeting K-12, building and process topics |
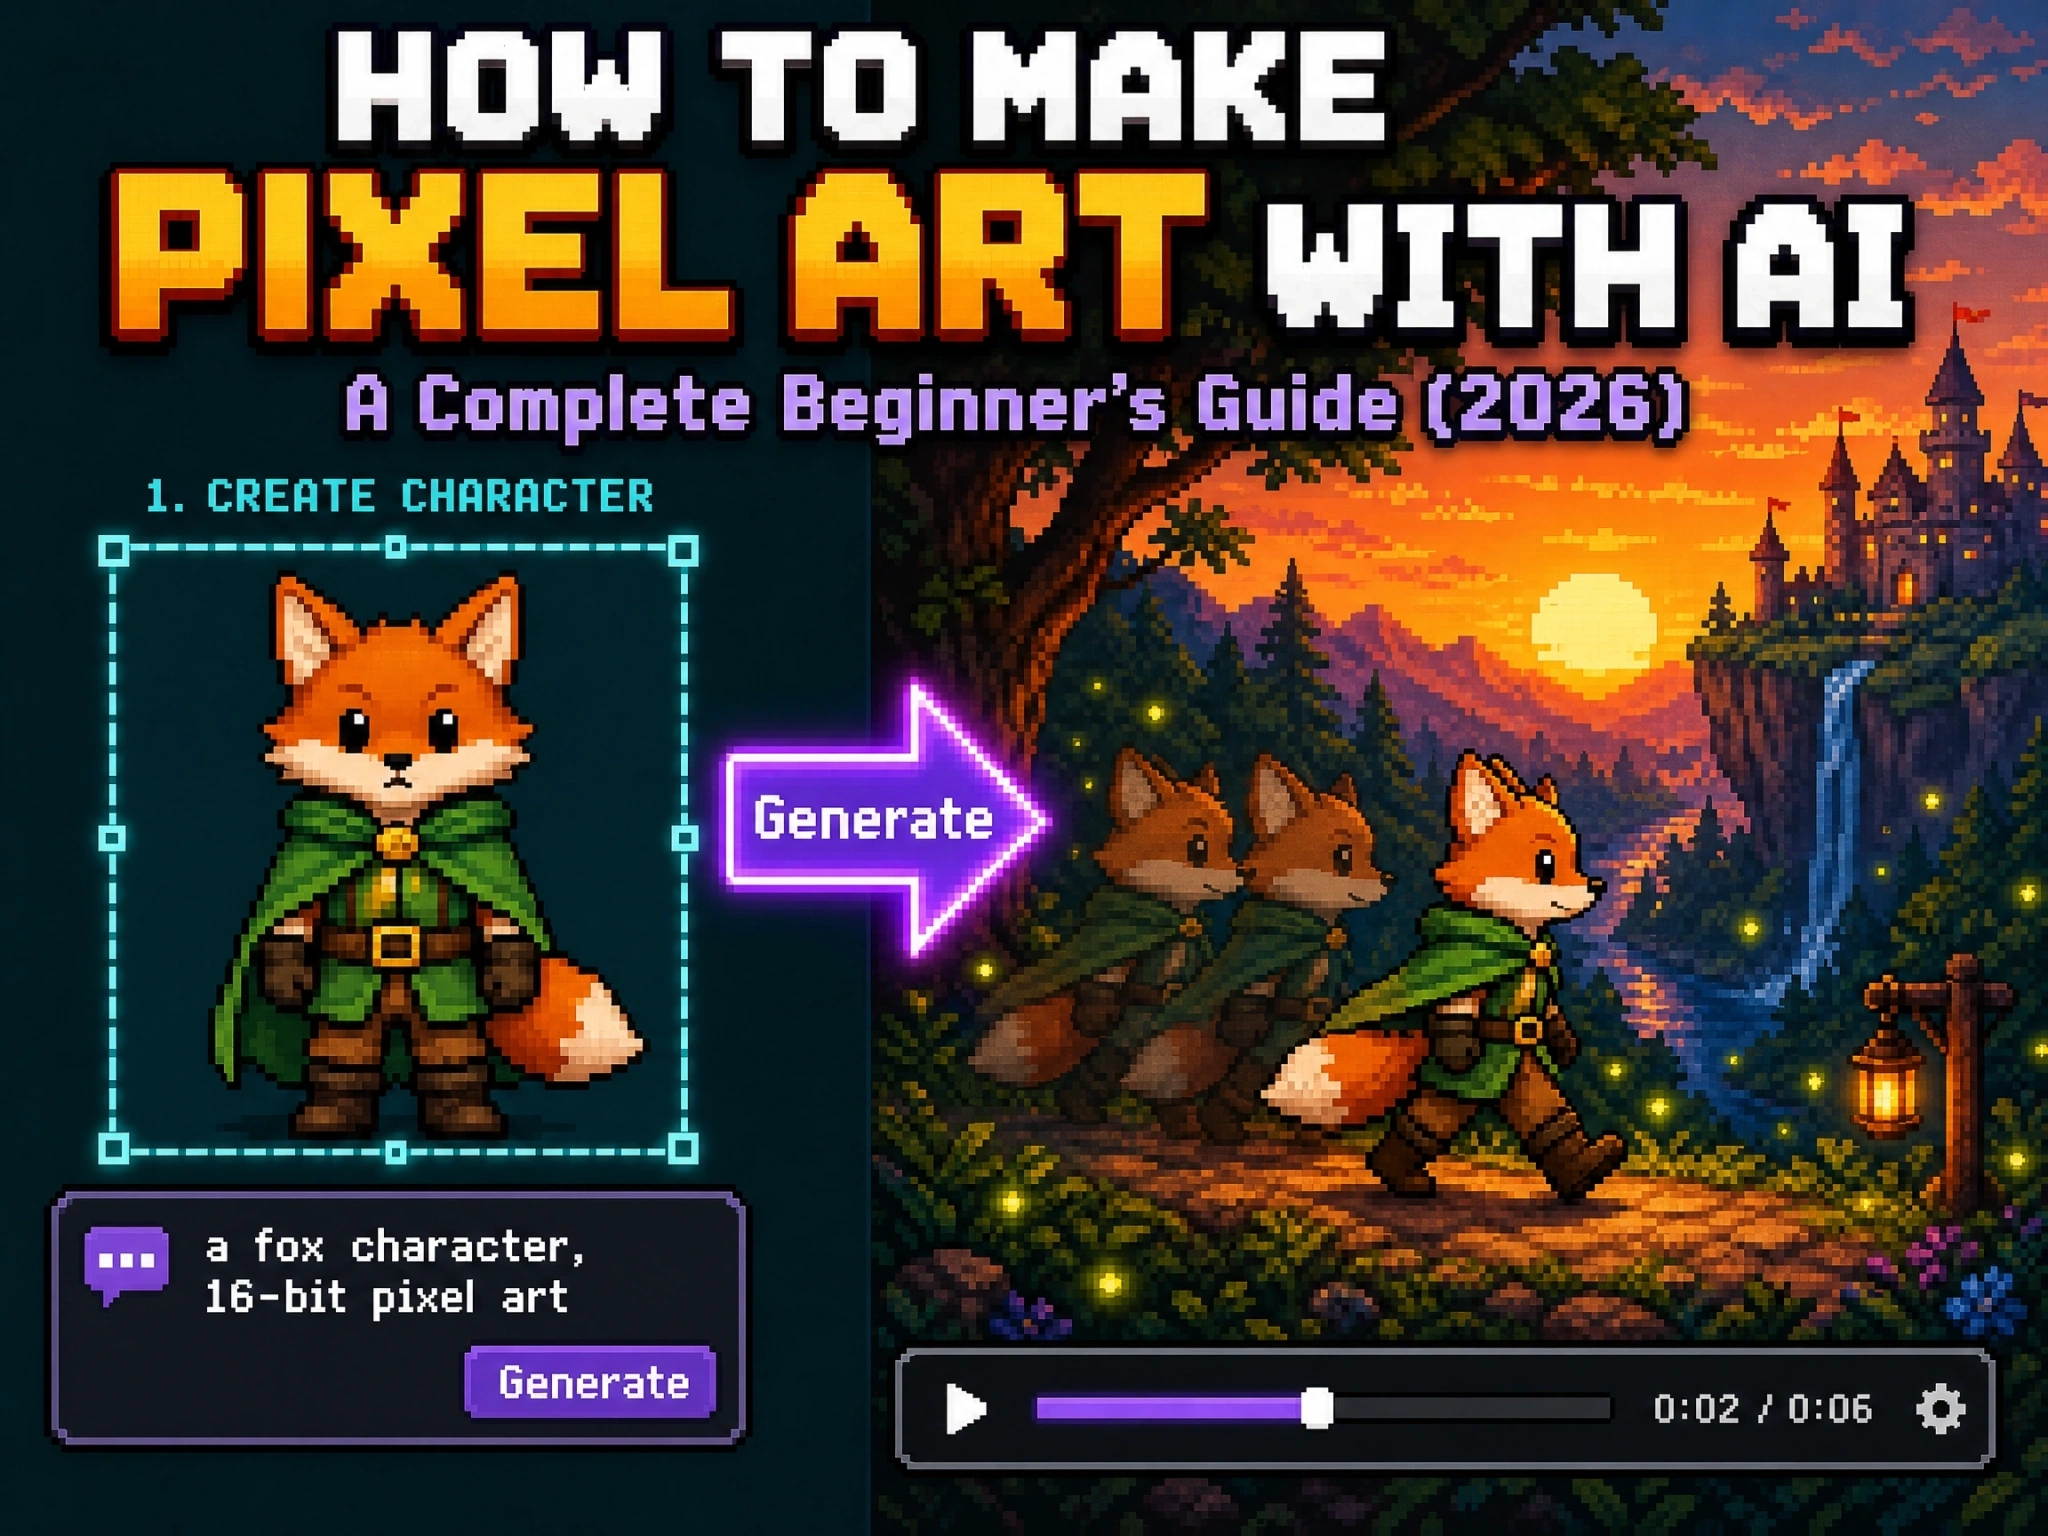
| Pixel Art | Tech and coding education, retro-stylized content |
How to Make Educational Videos on Mobile with Anijam
Anijam’s mobile app supports the complete production workflow: script input, template selection, character setup, voice generation, and export. For educators making quick supplementary content between lessons, the mobile workflow is fast and practical. For dedicated YouTube channel creators, the desktop experience offers more control over timeline editing and scene refinement.
Educational Video Maker Free: What’s Available
Anijam offers a free tier that covers character design, template browsing, scene generation, voice preview, and timeline editing. Watermark-free export and commercial usage rights require a paid plan.
Other options worth knowing:
- Canva for Education — free for verified teachers and students; strong for static and basic video presentations, limited for animated video with a consistent character
- InVideo — free tier available for text-to-video; good for faceless YouTube content built from footage and voiceover rather than original animation
For animated educational video with a consistent AI character across a series, Anijam’s free tier has no direct equivalent at the same feature depth.
How to Make Educational Videos: Step by Step
Step 1: Define Your Learning Objective
Every effective educational video starts here. Before script, before tools, before format — define the single thing your viewer will know or be able to do after watching.
Write it as a completion: “After watching this video, the viewer will be able to [specific action].”
If you can’t write that sentence clearly, the video isn’t ready to make yet.
This objective drives everything downstream: what to include, what to cut, how long the video should be, and what visual format serves the concept best.
Step 2: Know Your Audience
The same concept explained for a 7-year-old and a 40-year-old professional requires completely different vocabulary, pacing, examples, and visual treatment.
Define your audience before writing your script. Key variables:
- Age and prior knowledge — what do they already know? Where does this video meet them?
- Context — classroom, self-directed, YouTube, corporate training?
- Attention span — a preschooler’s video and a corporate training module have different length tolerances
For kids (ages 2–8): short scenes (4–6 seconds), repetition, simple vocabulary, bright visuals, a consistent character they recognize across videos.
For students and adult learners: more information density, real examples, respect for their time — no padding.
Step 3: Write Your Script
A script prevents rambling. Even a rough outline ensures every second of your video serves the learning objective.
Structure that works for most educational video:
Hook (first 10–15 seconds): State the problem or question the video answers. “Have you ever wondered why planes don’t fall out of the sky?” works better than “Today we’re going to learn about lift.” The first version creates curiosity. The second signals a lecture.
Body: Break the concept into 2–4 parts. Each part: one idea, one example. Don’t pile ideas together. Give each room to land before moving to the next.
Summary: Restate the core takeaway in one sentence. Then — if it’s a YouTube video — a call to action (next video in the series, subscribe, related topic).
Script length guide:
- 5-minute video ≈ 650–750 words
- 8-minute video ≈ 1,000–1,200 words
- 2-minute kids’ video ≈ 200–250 words
Read your script out loud before producing it. You’ll hear immediately where the pacing is off, where something sounds unnatural, and where a section is too long.
Step 4: Choose Your Format and Visual Style
Match the format to the content (see Types section above) and to your production capacity.
If you’re building a YouTube educational channel or creating content for students and don’t want to appear on camera, animated video is the most practical choice. It’s scalable, consistent, and doesn’t require recording equipment.
For style, consider what your audience already watches. Science channels targeting adults tend toward clean 2D or 3D animation. Kids’ channels use bright cartoon styles with large, expressive characters. History channels often use illustrated documentary styles.
Step 5: Produce the Video
If you’re recording yourself: Set up good lighting (natural light from a window works), use a dedicated microphone, and record in a quiet space. Record in short sections — it’s easier to work with and easier to re-record when something goes wrong.
If you’re using AI animation (covered in detail below): Generate your scenes using your script as input. Add AI voiceover. Apply lip sync. Edit the timeline.
If you’re doing a screencast: Use a screen recorder, narrate as you go or add voiceover afterward, and keep the pace slow enough that viewers can follow the screen.
Step 6: Edit for Clarity
Editing educational video is different from editing entertainment. The goal is clarity, not cinematic flow.
Cut ruthlessly: if a sentence doesn’t support the learning objective, remove it. Cut filler words, long pauses, and any section where you repeated yourself without adding new information.
Add visuals that support comprehension: labels, callout text, diagrams, on-screen text for key terms. Don’t add visual decoration — add visual explanation.
Pacing in the edit: vary scene duration deliberately. Concept scenes need more time (6–10 seconds). Quick examples can be shorter (3–5 seconds). Uniform rhythm feels mechanical and reduces engagement.
Step 7: Add Audio
If voiceover isn’t already recorded: record it now, or use an AI voice generator.
Music: for educational video, background music should be present but not competing. Calm instrumental works. Avoid anything with lyrics — it competes with narration.
Subtitles / captions: add them. They improve comprehension for non-native speakers, learners with hearing difficulties, and anyone watching without headphones. They also improve watch time on YouTube.
Step 8: Export and Distribute
| Platform | Format | Aspect Ratio | Resolution |
|---|---|---|---|
| YouTube | MP4, H.264 | 16:9 | 1080p or 4K |
| YouTube Shorts | MP4 | 9:16 | 1080p |
| TikTok / Instagram Reels | MP4 | 9:16 | 1080p |
| Online course (Teachable, Udemy) | MP4 | 16:9 | 1080p |
| Google Classroom / LMS | MP4 | 16:9 | 1080p |
How to Make Educational Videos for YouTube
YouTube has specific mechanics that educational content needs to work with — beyond just production quality.
The first 30 seconds determine everything. YouTube’s algorithm weights early retention heavily. If viewers leave in the first 30 seconds, the video gets downranked. Start with the hook, not the intro. No channel jingle, no “welcome back,” no preamble before the content starts.
Title the concept, not the episode. “Why Does Ice Float?” ranks for that exact search query. “Physics Series Episode 4” does not. Educational YouTube titles should be the question or concept itself.
Build a series, not just videos. Single videos get views. Series build channels. A consistent character, recognizable visual style, and a naming convention for episodes turns one-time viewers into subscribers. Viewers who finish one video and see a related episode in the queue will watch it.
Faceless educational channels work. Many of the most successful educational YouTube channels never show the creator on camera. Kurzgesagt has over 25 million subscribers. Channels covering history, science, math, and language are built entirely on animation and voiceover. If being on camera is a barrier, it doesn’t have to be — animation is a legitimate and scalable alternative.
How to Make Educational Videos for Kids
Kids’ educational content has different rules from adult content. Getting it right matters — content that misses developmental markers doesn’t just fail to entertain, it fails to teach.
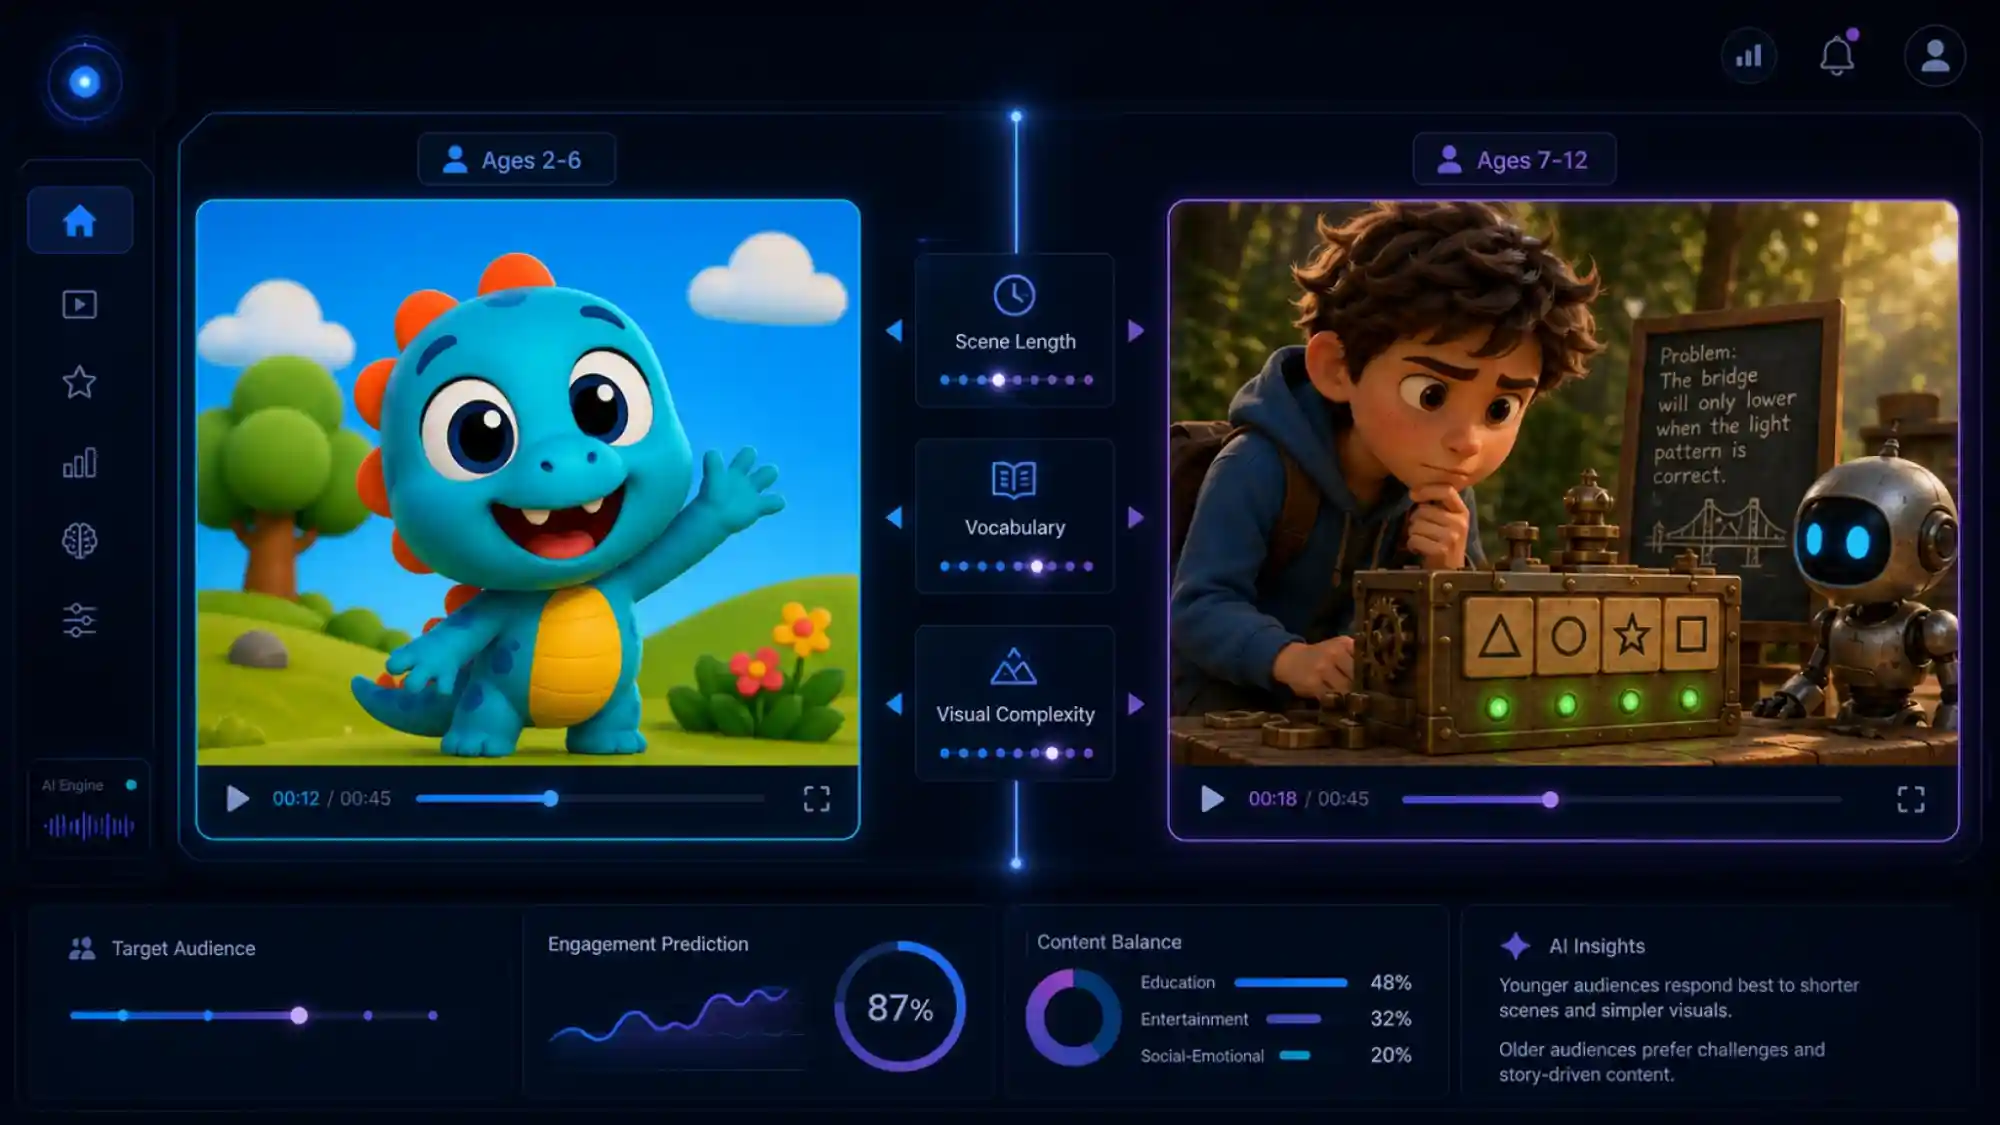
Ages 2–6:
- Scenes 4–6 seconds maximum before visual change
- Bright, saturated colors with high contrast
- Large, expressive character faces — emotions need to read clearly
- Simple vocabulary: concrete nouns, present tense, short sentences
- Repetition is pedagogy, not padding — repeat key phrases deliberately
- A consistent character across every video builds familiarity and trust
Ages 7–12:
- Learning embedded in story works better than direct instruction
- Characters with problems to solve engage this age group
- More visual complexity — diagrams, demonstrations, close-up detail
- Humor increases retention — content that makes kids laugh gets rewatched
A note on quality: The rise of AI video tools has also produced a wave of low-quality kids’ educational content — visually polished but pedagogically wrong. Incorrect counting sequences, letters in the wrong order, concepts taught backwards. AI handles production; humans need to provide and verify the curriculum. Check every scene for accuracy before publishing.
How Long Does It Take to Make an Educational Video?
Realistic estimates for a 3–5 minute educational video using Anijam:
| Phase | Time |
|---|---|
| Learning objective + script | 20–45 min |
| Character setup (first video) | 15–30 min |
| Character setup (reused in subsequent videos) | 2–5 min |
| Scene generation (8–12 scenes, 1–2 iterations) | 45–90 min |
| Voice generation + lip sync | 15–30 min |
| Timeline editing | 20–40 min |
| Export | 5 min |
| Total (first video) | 2–4 hours |
| Total (repeat videos in series) | 1–2 hours |
Traditional educational video production — scripting, recording, editing, graphics — typically requires 4–8 hours per finished minute of content. The reduction is real.
Final Thoughts
The production barrier for educational video is lower in 2026 than it has ever been. The tools exist. The cost has dropped. What doesn’t change is the requirement that someone with genuine knowledge of the subject makes decisions about the content — what to teach, how to sequence it, and whether the final output actually serves the learner.
AI video tools like Anijam AI video agent handles the execution. You supply the curriculum and the judgment.
Start with one concept. One video. One character that can carry a series. That’s the unit to build from.
Frequently Asked Questions
Do I need any technical skills to make educational videos with AI?
No. Anijam uses natural language for everything — describe your scene, your character, your style, and the AI handles the execution. Teachers with no prior video production experience are creating series-quality educational content today.
Can I make educational videos without showing my face?
Yes. AI avatar replaces the on-camera presenter entirely. AI voiceover handles narration. The result is a professional educational video with no recording equipment and no on-camera appearance required.
What’s the best length for educational videos on YouTube?
For most educational topics, 5–10 minutes performs best. Long enough to cover a concept properly, short enough to maintain attention. YouTube Shorts (60 seconds, vertical) work as concept snippets to drive traffic to longer videos. A channel that does both outperforms one that does only one format.
How do I keep my educational character consistent across multiple videos?
Standard AI video generators regenerate characters from scratch in each clip, causing visual drift across episodes. Anijam’s character consistency engine solves this by locking your character’s design once and referencing it automatically across every scene and every video you generate.
Can I make educational videos in multiple languages?
Yes. Anijam’s voice generator supports 30+ languages. Generate the same animation with different language voiceovers — the character’s lip sync adjusts automatically for each language.
Can I monetize an educational YouTube channel built with AI animation?
Yes. Educational YouTube channels monetize through ads, sponsorships, affiliate links, and associated course or product sales. Anijam includes commercial usage rights on eligible plans — check your plan terms before publishing commercially.
by Wendy
Wendy is a passionate writer and AI animation enthusiast at Anijam, exploring creative ways to bring stories to life with AI-powered animation tools. She shares practical tips, prompt ideas, and insights to help creators turn their imagination into stunning animated content.